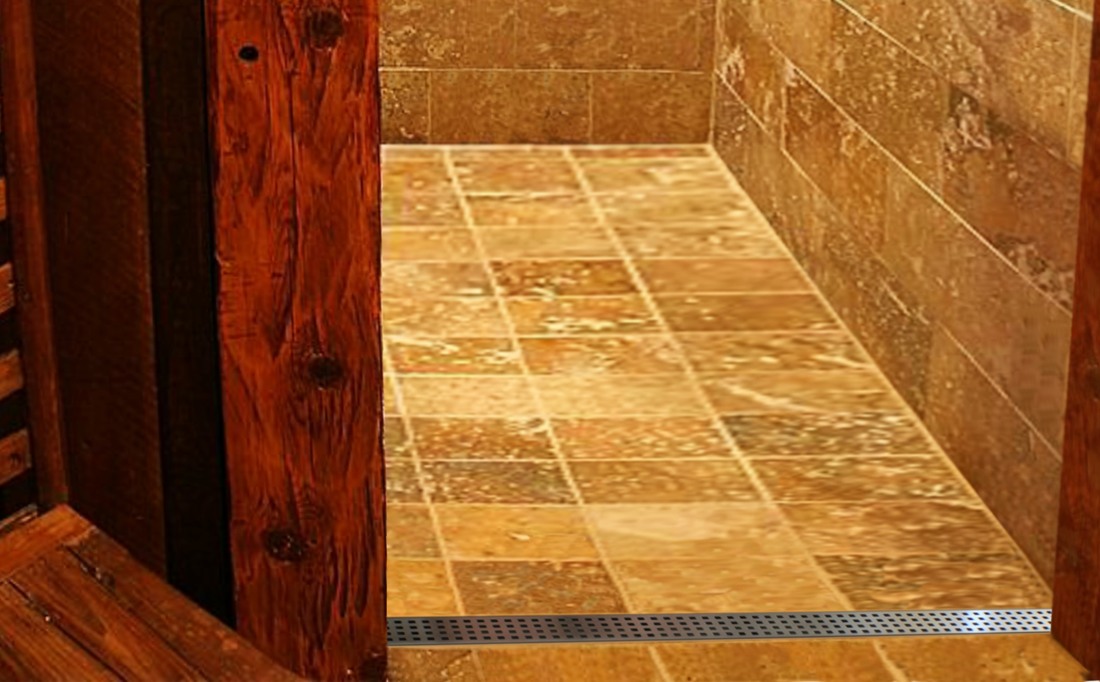
Guide to Waterproofing Showers and BathroomsThis guide will help you make wise decisions when it comes to waterproofing your bathroom. This is one of the most important activities you have to carry out for you to have a working bathroom. Showers are becoming powerful since people spend a lot of time in there and the water comes down at a high intensity from the water faucets. Tiles have been acting as waterproofing agents, but the modern showers can lead to tile failure as a result of the water intensity and flow in the bathroom. The types of ingrates used in the bathroom can be highly sensitive to moisture, the tiles may become unglazed or cracked, and this will let the water seep in causing further damage. This is why it is important to correctly waterproof and install drains to bathrooms.
Waterproofing is a sensitive and complex process which will require a lot of deliberation, skilled and careful installation if the activity is to be a success. All instructions have to be followed to the letter and understood before commencing the work. Tools Used for Waterproofing
1. Shower liner tape This is a 150mm wide band of a water-proofing membrane which will be used together with water-proofing adhesive tape which will provide a waterproof seal between the sheets of shower liner. 2. Waterproofing adhesive This is a two part product that consists of a powder adhesive and a liquid which is mixed and installed together with the shower liner tape to produce a water tight seal to joints and abutments between shower liner and Flexi-Mat. 3. Shower liner sealing compound This is a compound which is used to seal and adhere the edges of shower liner and Flexi mat to the surrounding substrates. It is normally supplied in a tube and applied with a mastic gun. 4. Fleximat This is a manufactured form of polyethylene which is molded into a grid structure of square cavities with a special anchoring fleece laminated to its underside. The webbing together with the tile adhesive will anchor the membrane to the floor substrate. Fleximat can also be used in non-wet room situations to provide an ‘uncoupling membrane’ between the floor substrate and the floor tiles. This is advisable when installing floor tiles on to floor boards, and timber decked floors, floors incorporating under floor, heating or as a means of bridging stress cracks in cement screeds to prevent them being transferred to the tiles. Fleximat can be used on the following floor substrates:
Waterproofing the bathroom wall 1. Use the Norcross substrate Primer to primer the substrate and follow the instructions on the bottle. 2. Mix the white Norcross or Grey Flexible Adhesive Powder with clean water as per the instruction indicated on the packaging. 3. Apply the adhesive using a notched trowel to the wall being waterproofed and ensure that the adhesive remains open while fitting the shower liner. 4. Press the shower liner into the adhesive using a flat trowel while working the liner into the adhesive by applying pressure to the membrane in smooth, diagonal sweeps. Air bubbles should be removed completely from the membrane. 5. The sheet of shower liner should overlap the nest by a minimum of 5cm or the tape can be adhered to join between each sheet using a waterproof adhesive. 6. The tape can also be cut and used to seal off the corners and edges. 7. At the point where the shower liner meets the shower tray, the shower liner has to be sealed to the tray using the shower liner sealing compound. 8. Ensure that all pipe-work is sealed using the shower liner sealing compound. 9. Put waterproof seals wherever is required. 10. Once all of the surfaces to be tiled are covered correctly with the shower liner, the shower walls are waterproof, and tiling can begin. If tiles over 10mm in depth are being installed leave the membrane to dry over night. Waterproofing the floor.
Tiling of cubicle walls: If the design includes the installation of a shower screen, then extra care should be taken to ensure that the finished tiled surface is true and plumb. The cubicle walls must be at right angles for the screens to be fitted properly, and the tiling must be smooth, without lapping between tiles. The grout needs to be flush with the tile surfaces, to minimize the risk of water escaping. Sealing around the edges Wherever one plane of tiling meets another or another material, there is a risk that cement based grouts will crack and allow moisture to penetrate the tiling. Therefore a suitable silicon sealant must be used which will allow for minimal movement by remaining pliable. All fixtures and fittings must also be sealed using the same technique to prevent similar problems. Once the work has been completed the shower should not be used until the silicon is fully cured. Conclusion Waterproofing is imperative because it prevents water from seeping into the cracks and crevices thus causing further damages to the building. It is a necessity during construction or renovating your bathroom. |
|
|
Popular Posts
|
|
|
|
|